How to deploy Mellanox BlueField 2
-
 Diogo Monteiro
 - 28 Jun, 2024

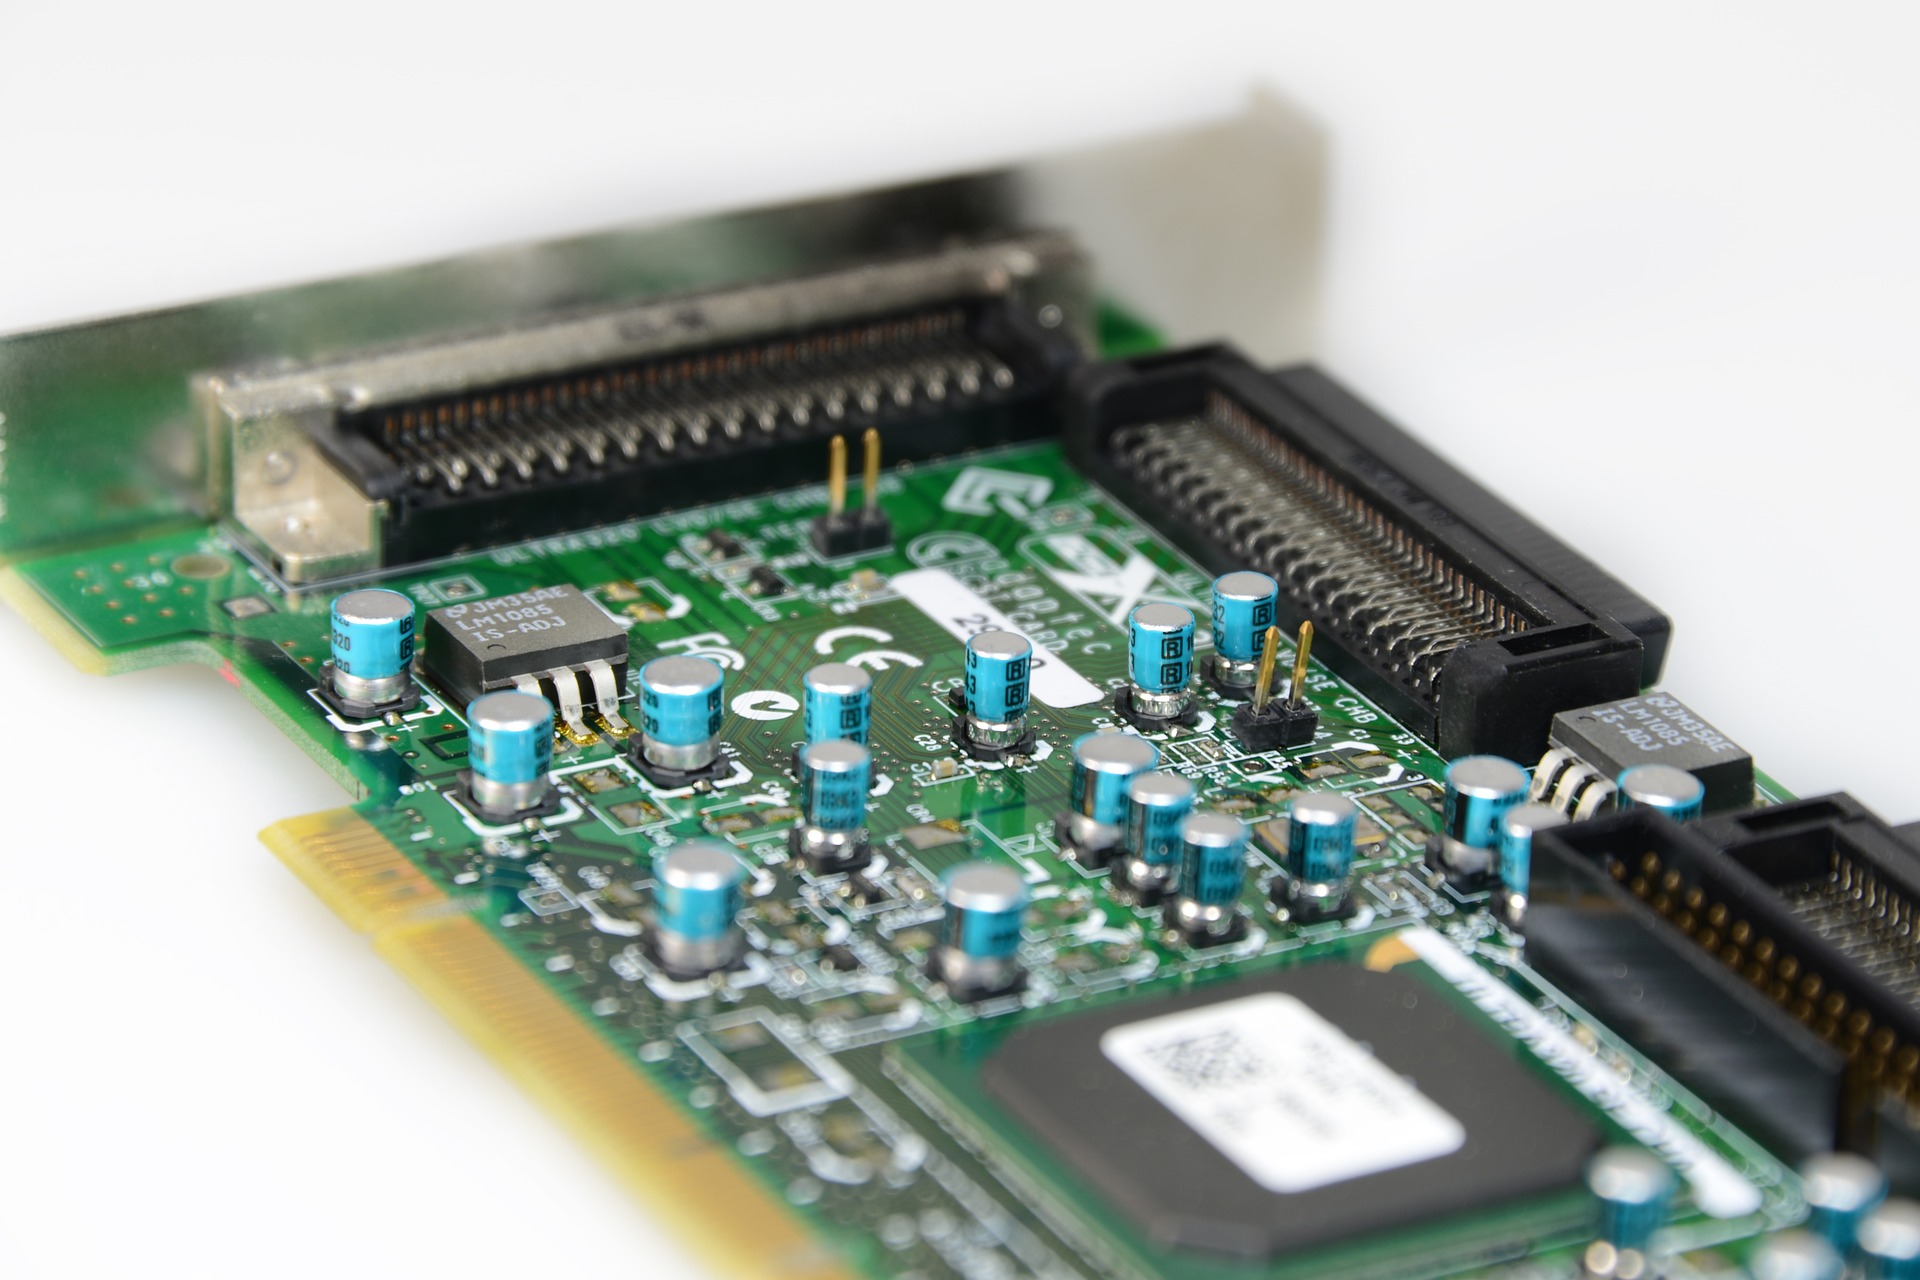
With the growing demand for high-performance networks (HPN), devices like the NVidia Mellanox Bluefield SmartNICs have become increasingly popular and widely used. These devices are crucial in enhancing network efficiency and processing power, enabling faster data transfer and improved overall performance. Given NVidia’s extensive documentation on these technologies, I have created this tutorial to assist new users in effectively utilizing SmartNICs. This guide aims to bridge the gap between complex technical specifications and practical application, making it easier for users to deploy and benefit from these advanced networking solutions.
Updating and verification
Update and configure GRUB.
GRUB_CMDLINE_LINUX="iommu=pt amd_iommu=on vfio_iommu_type1.allow_unsafe_interrupts=1 default_hugepagesz=1G hugepagesz=1G hugepages=8"
Change
vfio_iommu_type1tointel_iommuin case of Intel processor.
Update all known ID’s used in PCI devices.
update-pciids
Find for BlueField in pci connections.
lspci | grep BlueField
If connection was not found, probably the NIC is not properly connected in PCI slot of your host.
Setting environment
Install doca host.
dpkg -i doca-host-repo-ubuntu2204_2.2.0-0.0.3.2.2.0080.1.23.07.0.5.0.0_amd64.deb
[!NOTE] File can be downloaded in this link according to your OS version. For more information, access Nvidia documentation
Install other doca packages.
apt-get update
apt install -y doca-runtime doca-tools doca-extra pv
Start RShim service:.
systemctl start rshim
systemctl enable rshim
Start your device.
mst start
To check if device is properly started and get device ID:
mst status -v
That should give us the device’s PCI address and MST address (e.g. /dev/mst/mt41686_pciconf0).
Device configuration
Currently, there are just a few official images provided by Nvidia. Here is a shortcut if you want to install Ubuntu 20.04 or Ubuntu 22.04.
Generate a password hash.
openssl passwd -1
Create a file named bf.cfg containing the hash of the new password.
vim bf.cfg
# "ubuntu_PASSWORD='<PASSWORD_HASH_HERE>'"
Install image.
sudo bfb-install --rshim /dev/rshim<N> --bfb <IMAGE_PATH> --config bf.cfg
Being
<N>the ID of the device (0 for the first DPU).
Set operation mode and reboot your machine to apply changes.
mlxconfig -d <MST_ADDRESS> set INTERNAL_CPU_MODEL=1
mlxconfig -d <MST_ADDRESS>.1 set INTERNAL_CPU_MODEL=1
[!NOTE] For our purpose, we set DPU mode for our SmartNIC, for more information about modes of operation click here. Now, you need to reboot your host to apply the changes.
Set interface’s IP address, changing
ip addr add dev tmfifo_net<N> 192.168.100.1/30
At this time, you are supposed to be able to access the SmartNIC.
ssh ubuntu@192.168.100.2
Scalable Functions and Network configurations
At your host, set network address translation rules, changing <ETHERNET_IF> for the network interface of the host and <SOC_IF> for SoC Interface (tmfifo_net<N>).
ETHERNET_IF=<ETHERNET_IF>
SOC_IF=tmfifo_net0

echo 1 > /proc/sys/net/ipv4/ip_forward
iptables -A FORWARD -i $SOC_IF -o $ETHERNET_IF \ -j ACCEPT
iptables -A FORWARD -i $ETHERNET_IF -o $SOC_IF -m state --state ESTABLISHED,RELATED \ -j ACCEPT
iptables -t nat -A POSTROUTING -o $ETHERNET_IF -j MASQUERADE
Set huge pages.
umount /dev/hugepages
mkdir -p /mnt/huge
mount -t hugetlbfs nodev /mnt/huge
echo 4096 > /sys/kernel/mm/hugepages/hugepages-2048kB/nr_hugepages
Export DOCA path.
export PKG_CONFIG_PATH=:/opt/mellanox/doca/lib/aarch64-linux-gnu/pkgconfig:/opt/mellanox/dpdk/lib/aarch64-linux-gnu/pkgconfig:/opt/mellanox/flexio/lib/pkgconfig
Verify if Scalable Functions (SF) are already available.
/opt/mellanox/iproute2/sbin/mlxdevm port show
We are expecting for this output:
Failed to connect to mlxdevm Netlink
If your SF are already available, skip next steps. Otherwise:
Create SF.
/opt/mellanox/iproute2/sbin/mlxdevm port add pci/0000:03:00.0 flavour pcisf pfnum 0 sfnum 1
/opt/mellanox/iproute2/sbin/mlxdevm port add pci/0000:03:00.1 flavour pcisf pfnum 1 sfnum 1
To check if SF were created successfully:
/opt/mellanox/iproute2/sbin/mlxdevm port show
Configure SF
294945 is the <sf_index> you can see more here.
/opt/mellanox/iproute2/sbin/mlxdevm port function set pci/0000:03:00.1/294945 hw_addr 00:00:00:00:00:01 trust on state active
/opt/mellanox/iproute2/sbin/mlxdevm port function set pci/0000:03:00.0/229409 hw_addr 00:00:00:00:00:02 trust on state active
#ls /sys/bus/auxiliary/devices/mlx5_core.sf.*
echo mlx5_core.sf.4  > /sys/bus/auxiliary/drivers/mlx5_core.sf_cfg/unbind
echo mlx5_core.sf.4  > /sys/bus/auxiliary/drivers/mlx5_core.sf/bind
echo mlx5_core.sf.5  > /sys/bus/auxiliary/drivers/mlx5_core.sf_cfg/unbind
echo mlx5_core.sf.5  > /sys/bus/auxiliary/drivers/mlx5_core.sf/bind
Set port forwarding between virtual switch and device.
sudo ovs-ofctl add-flow ovsbr1 in_port=p0,actions=output:en3f0pf0sf1
sudo ovs-ofctl add-flow ovsbr2 in_port=en3f1pf1sf1,actions=output:p1
sudo ovs-ofctl add-flow ovsbr2 in_port=p1,actions=output:en3f1pf1sf1
sudo ovs-ofctl add-flow ovsbr1 in_port=en3f0pf0sf1,actions=output:p0
Application execution
Run a DOCA app sample.
cd /opt/mellanox/doca/samples/doca_flow/flow_hairpin
Compile it using Meson.
meson build
cd build
Execute DOCA application.
./doca_flow_hairpin -a auxiliary:mlx5_core.sf.4,dv_flow_en=2 -a auxiliary:mlx5_core.sf.5,dv_flow_en=2 -- -l 60
References:
- https://docs.nvidia.com/networking/display/bluefield2dpuenug/bluefield+dpu+administrator+quick+start+guide
- https://docs.nvidia.com/doca/archive/doca-v1.2/installation-guide/index.html
- https://docs.nvidia.com/doca/sdk/pdf/installation-guide-for-linux.pdf
Known Issues:
- Ubuntu 22.04 (host): it freezes the system after running bsb-install. Possible solution is to disable secure boot from BIOS. Note: this solution does not work in all hosts https://forums.developer.nvidia.com/t/install-doca-2-0-2-ubuntu2204-on-bluefield-2-failed/257630
- Timeout BSB: https://forums.developer.nvidia.com/t/install-doca-on-bluefield-2-failed/231797/4

